Tuesday, August 21, 2012

Mini Chocolate Mousse Cups

I had a vision of mini chocolate mousse desserts in little cups with tiny silver spoons for a dessert at my Pampered Chef Party...  I had the mini cups (from the dollar tree!  Thanks Haleigh for the tip!  (Check out her fabulous blog:  Partleigh Put-Together ) and I had the mini spoons but I had no idea what to do about the mousse!  Being 7 months pregnant, I cannot consume any raw egg (and really you never should) but most real mousse recipes call for egg whites.  I decided to use chocolate pudding mix to make my egg-less mousse and it came out super yummy!   This is definitely a fun dessert for a party and it made A TON!


Mini Chocolate Mousse Cups
makes approx 48 mini cups

Ingredients:

  • (1) 14oz can Sweetened Condensed Milk
  • (1) cup cold water
  • (1) 3.9oz package instant chocolate pudding mix
  • (1) cup whipping cream, whipped
  • 1/2 Package Oreos, Crushed
  • Redi-Whip
Directions:
  • In a large bowl, combine sweetened condensed milk and water.  Add pudding mix; beat well.  Chill 5 minutes.  While the pudding mixture was chilling I whipped the whipping cream until soft peaks formed.  Fold whipped cream into pudding mixture.  Spoon chocolate mousse mixture into mini cups.  Crush 1/2 package of oreos and sprinkle crushed oreo on top of the chocolate mousse.  You can put these in the fridge tightly covered the day before your party.  When you are ready to serve, remove from fridge and top each mousse with RediWhip and put a tiny silver spoon it it!  Serve on a large platter.  Enjoy!
Mini Cups from Dollar Tree and Mini Silver Spoons from Party City


Pumpkin Bars!

It has been an incredibly hot summer here on the east coast!  I find myself longing for FALL to get here so I can enjoy cooler weather, jeans and of course "comfort food!"   One thing that always makes it feel like Fall is anything pumpkin!  I had a Pampered Chef party a week ago and decided to make a batch of pumpkin bars-- I think it was my form of a "Fall Dance" to bring on the cooler weather sooner!  This was an easy make-ahead recipe and a party pleaser!!

Here is the recipe!  Enjoy!

Pumpkin "Cheesecake" Bars

Ingredients:

  • (1) 16oz package yellow cake mix
  • 3 eggs
  • 2 Tbsp butter, melted
  • 4 teaspoons pumpkin pie spice, divided
  • (1) 8oz package cream cheese, softened
  • (1) 14oz can Sweetened Condensed Milk
  • (1) 15oz can pumpkin
  • 1/2 tsp salt
Directions:
  1. Preheat oven to 350 degrees and lightly grease bottom of 15 x 10 jellyroll pan.  In a large bowl, combine cake mix, 1 egg, (melted) butter and 2 tsp pumpkin pie spice on low speed until crumbly.  Press mixture onto bottom of jellyroll pan.
  2. In large mixing bowl, beat (softened) cream cheese on low until fluffy.  Gradually beat in sweetened condensed milk, then remaining two eggs, pumpkin, remaining 2 teaspoons pumpkin pie spice and salt.  Mix Well.
  3. Pour over crust.  (You can add 1 cup of chopped pecans or another kind of nut at this point-I did not).  Bake 30-35 minutes or until set.  Cool.  Chill and cut into bars.  Store in refrigerator.


Friday, July 20, 2012

Zucchini Stuffed Chicken Roll-Ups

I am always looking for great "freezer meals" and this one is definitely a keeper!  It is really easy, healthy and has a great flavor!  I pinned  this on my pinterest board months ago after finding it on skinnytaste.com  and finally decided to try it, adapting it a bit to what I had in the pantry!

Zucchini Stuffed Chicken Roll-Ups
4 Servings

Ingredients:

  • 4 Cloves of Garlic-chopped
  • 3/4 cup zucchini, shredded (I used the "larger" side of my cheese grater)
  • 1/4 cup shredded parmesan cheese
  • 1/2 cup mozzarella cheese
  • 2 large chicken breasts sliced in half (to make 4 "thin" pieces of chicken)
  • 3/4 cup Panko Breadcrumbs
  • 1 tsp basil
  • 1 tsp oregano
  • 1/2 tsp garlic powder
  • 4 tbsp lemon juice
  • 1 tbsp olive oil
  • salt and pepper
  • non stick cooking spray
Method:
  1. Preheat Oven to 450 & spray a baking dish with cooking spray.
  2. In a large skillet heat 1 tsp oil over medium-high heat.  Once heated add chopped garlic.  Saute until golden brown.  Add zucchini, shredded Parmesan cheese, salt & pepper.   Cook for about 4 minutes and then set aside to cool.  Once cool, add mozzarella cheese and mix well.
  3. Lay Chicken out on work surface and evenly distribute zucchini filling amongst them.  (Make sure you will be able to roll chicken up without filling coming out).  Roll each piece of chicken around zucchini mixture and set seam side down.
  4. Mix Panko Breadcrumbs, Basil, Oregano and Garlic Powder in a shallow & wide bowl.  In another bowl mix lemon juice, olive oil and pepper.
  5. Dredge Stuffed Chicken through the lemon/olive oil mixture and then put in breadcrumb mixture coating all sides evenly.  Place chicken in prepared baking dish, seam side down.  Repeat with remaining chicken.
  6. Lightly spray chicken with cooking spray and bake in oven for 30 minutes.

*For those freezer cookers out there (like me!) I tripled this recipe when I made it, to make (3) meals.  Once you have coated the chicken with the breadcrumbs- place in freezer on a baking sheet for 1-2 hours so it gets semi-frozen.  Place chicken in freezer bags or vacuum pack with your FoodSaver system.  Don't forget to label the bags with the cooking directions:  Spray with Cooking Spray, 450 degrees 30 minutes. 
Remove from freezer the day before you plan on baking it so it thaws out. =)

I forgot to take a pic so go to the link above at skinnytaste to see what they are supposed to look like!

Enjoy!

Tuesday, June 12, 2012

Thai Flavor! "Pad See-Ew"

We love going out for Thai food!  What's better than the delicious & spicy flavors all mixed together AND a "doggy" bag that tastes even better for lunch the next day??

I had some pork & broccoli in the fridge that I wasn't quite sure what I was going to do with...  and then I decided to do something Thai!

This recipe is really easy to whip up and we both devoured it AND I had enough leftover for dinner the next night and my lunch for the next day!

Pad See-Ew!
Approx 4 Servings

Ingredients:
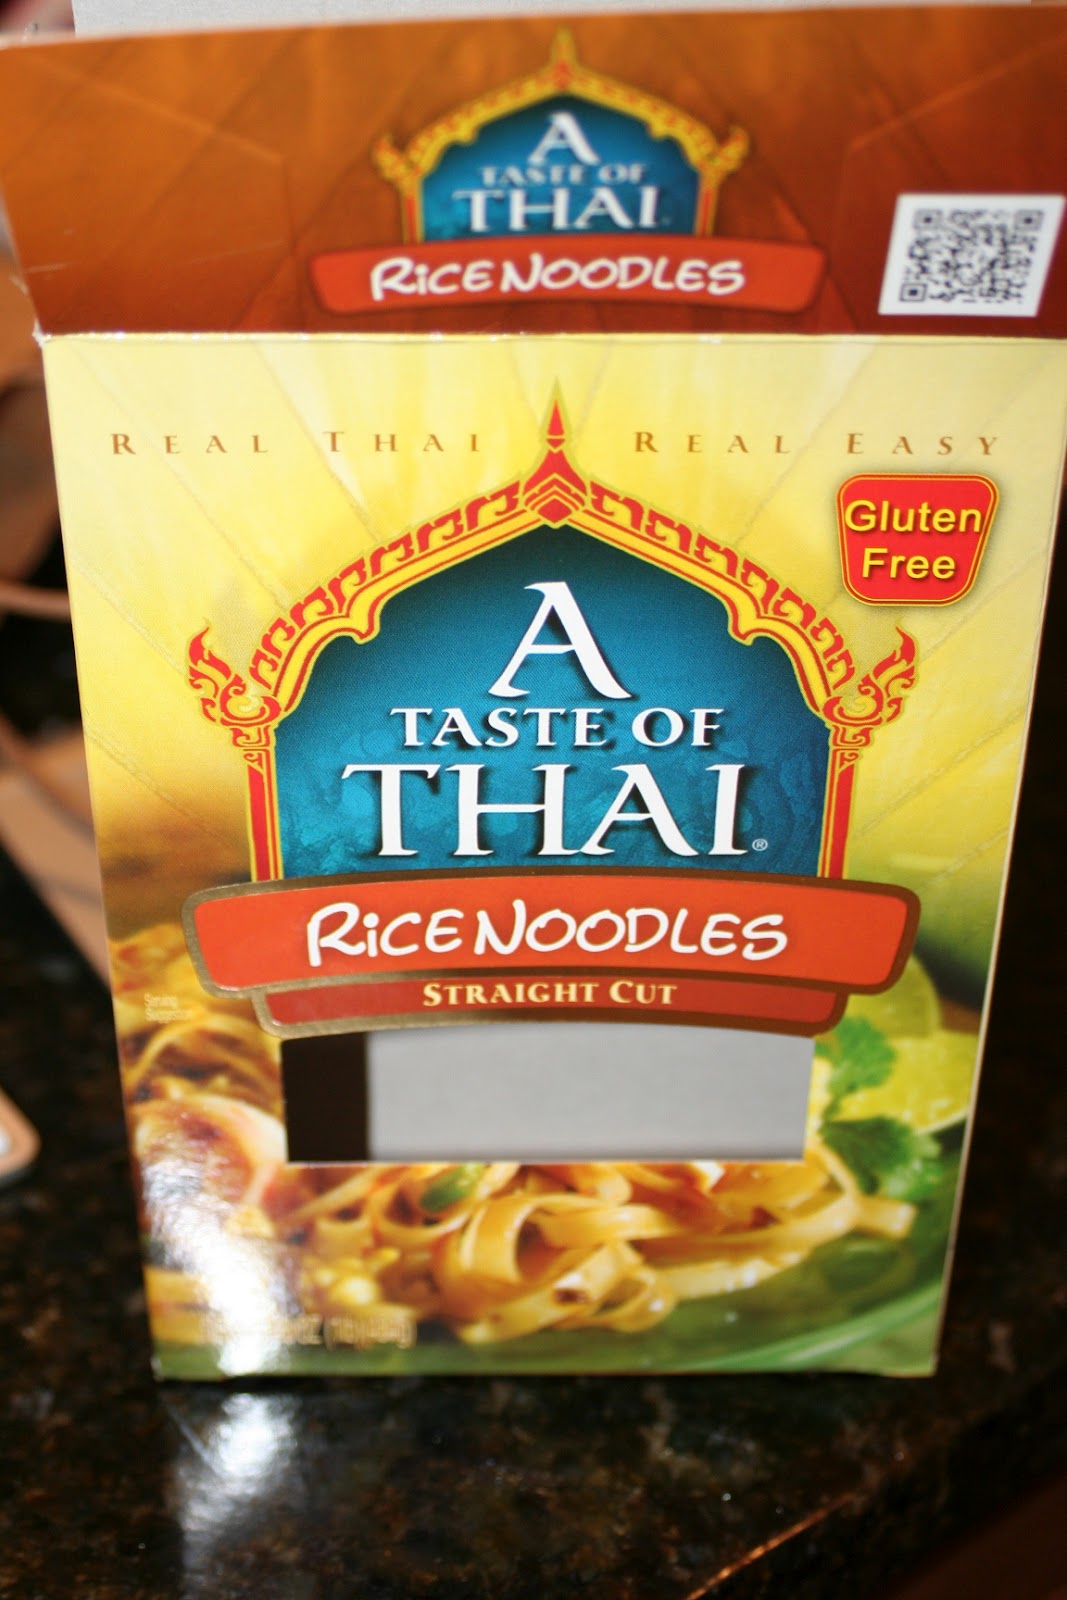
  •  16oz box Flat Thai Rice Noodles
  • 1 Egg
  • 2 heads broccoli, chopped into florets
  • 4 cloves garlic, minced
  • (3) Pork Chops sliced thinly into strips (you could also use Chicken or Beef if you wish! Pork Chops were what I had in the fridge that I needed to use!)
  • 2 Tbsp oil, plus 1/4 Cup White Wine
  • MARINADE (for meat)
    • 2 Tbsp. Oyster Sauce
    • 4 Tbsp Soy Sauce (I used reduced sodium)
    • 1 Tbsp Brown Sugar
  • STIR-FRY SAUCE:
    • 3/4 Cup Soy Sauce (I used reduced sodium)
    • 2 Tbsp Brown Sugar
    • 1/2 tsp white ground pepper
    • 1/4 tsp cayenne pepper (if you don't like heat, don't add this!)
Method:

  1. Stir together the meat marinade:  oyster sauce, brown sugar & soy sauce.  Dump marinade over thinly sliced meat and stir together well.  Set aside & let marinate while you prep everything else.  (I let mine marinate about an hour while I did yoga too!)
  2. Prep Rice Noodles:  (Read side of Rice Noodle Box) Place Rice Noodles in large bowl and fill bowl with HOT tap water.  Let sit 25-30 minutes.  Drain Noodles and set aside to use later.
  3. Next, I prepped the stir fry sauce.  (To save dishes I used the same bowl I had mixed up the meat marinade in)  Soy, Brown Sugar, White Pepper and Cayenne.  Set aside.
  4. Make sure your broccoli is chopped and your garlic is minced and near stove for use.
  5. Place a large frying pan over medium-high heat and add 2 tbsp oil.  (if you have a wok this would be the pan of choice, but I don't have one!)
  6. Add garlic and saute for about 30 seconds or until fragrant.
  7. Add the meat (with marinade) to the pan and stir-fry approximately 3 minutes.  If your pan becomes dry add the white wine.
  8. Add the broccoli and continue stir-frying for approx 3 minutes.
  9. Push all ingredients in pan to outside edges and crack the egg in the center of the pan.  Scramble the egg.  Once scrambled mix in with rest of pan ingredients.
  10. Add noodles slowly and pour the stir fry sauce over them.  Lift & turn the noodles to mix with all ingredients and the sauce.  Make sure everything is coated well.  Noodles should become softer.  Mix & turn noodles about 2 two minutes.
  11. Taste test noodles to make sure you like the taste.   Add more soy until you like the taste.
  12. I served our Pad See Ew with a sweet thai chili sauce on the side and a Siracha Chili Sauce on the side.
  13. Enjoy!


Thursday, May 31, 2012

Chicken Salad Recipe!

I have been making Chicken Salad the same way for YEARS but decided to mix it up a little bit for our Memorial Day Beach trip with the Fallis/Brown clan!  I was in the mood for something "refreshing" since we'd be at the beach so I decided to add grapes & celery to give it a nice taste.

Here is what ended up in the recipe:

Chicken Salad (my new way):

Ingredients

  • 1 Pound Cooked Chicken Breast cut into cubes (I boiled my chicken in water on medium heat until done - about 25-30 min)
  • 1 Cup Mayo (to make this a bit healthier you can use "lite")
  • 1 Cup Chopped Celery (I chopped mine pretty small bc I don't like big celery chunks)
  • 1 Cup halved Purple Grapes
  • Small Package Slivered Almonds ( I think mine was 2 oz or 4 oz) You can toast these if you'd like, I didn't
  • 1 Tbsp finely Chopped Fresh Parsley
  • Kosher Salt & Black  Pepper (to taste)
  • 1/2 Cup Whipping Cream (Whipped)
Instructions:
Combine Chicken, Mayo, Celery, Grapes, Almonds, Parsley, Salt & Pepper in Bowl.  Mix Well.
Whip the whipping cream with a blender until peaks start to form.  Fold Whipped Cream into Chicken Mixture and combine well.

Enjoy!

Thursday, May 24, 2012

My Little Sister...

Hi Everyone... Just wanted to share my little sis' blog with you.. Her & her hubs just moved to NYC 2 weeks ago and she has been blogging about it!  Check her out and give her some helpful tips & advice if you live there!  She is also a graphic designer so if you need any graphics done contact her!!  (She designed my banner ad on my etsy store & logo:  www.etsy.com/shop/hooray4sewing -she rocks!)

Here's the link:
States That Touch

I am making a new Chicken Salad Recipe tomorrow.. so if it turns out good I will share the recipe!!

~Melissa

Tuesday, May 22, 2012

Chicken Bites with Balsamic BBQ Sauce

Here is yet another "freezer" cooking recipe that is delicious & easy!  Husband loved it so it is obviously a "keeper!"

I have adapted it a bit from Mmm...Cafe 's recipe.

Chicken Bites with Balsamic BBQ Sauce
Serves 2

Ingredients:
1 Cup Balsamic Vinegar
3/4 Cup Ketchup
1/3 Cup Brown Sugar
2 Garlic Cloves Minced
2 Tablespoons Worcestershire Sauce
1 Tablespoon Dijon Mustard
Salt & Pepper to taste
(2) Large Chicken Breasts cut into Bite-Sized Pieces

In a small bowl stir together balsamic vinegar, ketchup, brown sugar, garlic cloves, worcestershire, dijon mustard, salt & pepper until smooth.

Place Chicken Pieces into a Ziploc or FoodSaver Bag.   Pour sauce over Chicken and seal.  Kneed bag so that chicken gets evenly coated with the sauce.

Chicken & Sauce Before Baking
At this point, you can pop your meal in the freezer for later enjoyment or go ahead and cook it!  (If you freeze your meal, make sure you write on the bag the cooking instructions & what it is so you don't forget!)


Dinner is Served!
Line a baking pan with foil and fill with chicken & sauce.  Bake at 375 for 40 minutes or until Chicken is cooked through.    If you froze your meal: remove from freezer and thaw in fridge the night before you plan on making it.

Serve over brown or white rice.

*This recipe is EASY to double or triple... so go ahead and make a couple batches and freeze some meals for later!

*ALSO NOTE that the above ingredient list is only for (2) servings-- so if you are feeding more than (2) people increase the ingredients accordingly =)

Enjoy!